


In a standard Excel worksheet, users can input any data they like. Nothing is off-limits from whole numbers to decimals, lists, dates, texts, etc. They only need to double-click on the cell to input the data.
However, allowing users to fill in any data without restrictions in a sheet can quickly turn into a formatting nightmare to deal with.
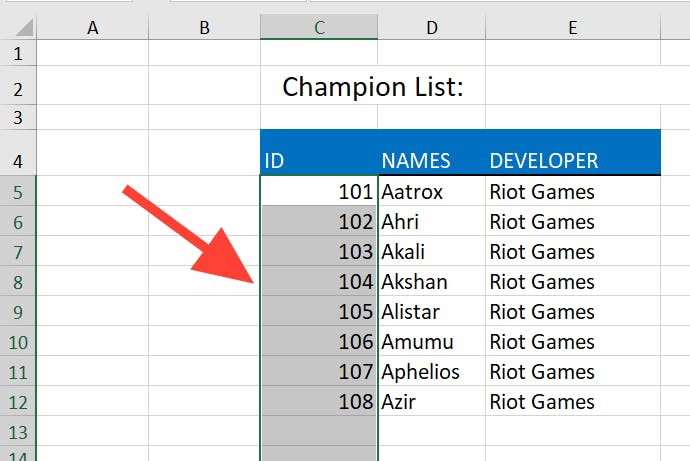
For example, if you allow any type of data to be entered into a column while collecting ID numbers, there is a high chance that you will end up with inconsistent and inaccurate data. This is because mistakes are bound to happen and you can't account for every single person filling the sheet. The lack of restriction ultimately makes it difficult to work with the entire collected data and extract meaningful insights.
Fortunately, Excel's data validation feature comes to the rescue here.
What is Data Validation in Excel?
Data validation in Excel is a feature that limits the type of data inputted in a worksheet. This feature allows users to set restrictions for data inputted in a cell. In practice, you create a validation rule that controls the type of data that can be entered into a particular cell. Data validation ensures that the data entered is consistent which increases data quality.
The excel data validation feature contains three tabs namely:
Settings
Input Message
Error Alert
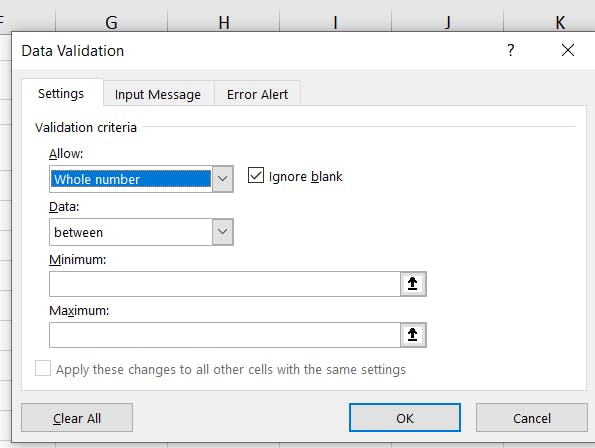
Settings
The setting tab is where you input the validation criteria. Here, you specify what type of data users can input. For example, you can restrict data input to only whole numbers and specify the 'minimum' and maximum' whole numbers allowed.
There are eight criteria options to choose from for validation criteria in Excel. These options include:
Any Value (Default)
Whole Number
Decimal
List
Date
Time
Text Length
Custom
Input Message
In the input message tab, you insert the message that shows what type of data is allowed in a given cell. It is best to prompt users on the data allowed in a cell by entering an input message.

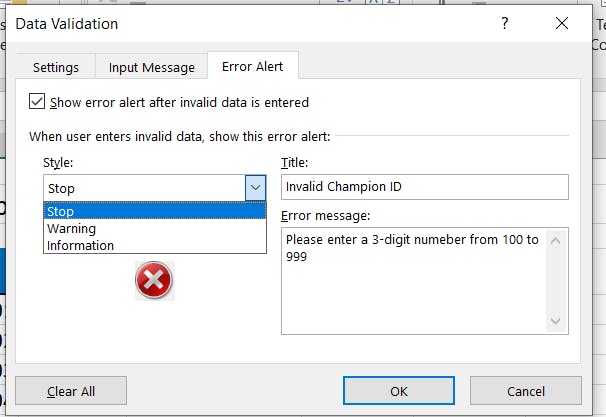
Error Alert
The error alert tab shows users an error alert if users ignore the input message and insert a number or text that is not valid. The error alert tab will show a stop sign by default but you can also select a warning or information sign if you prefer.
How to create a data validation rule in Excel
To make the data validation rule in Excel, carry out the following steps:
Select the cell or cells you want to validate
Navigate to the Data Tab

Click the Data Validation option in the Data Tools
Specify the Validation criteria in the settings tab according to your preference.
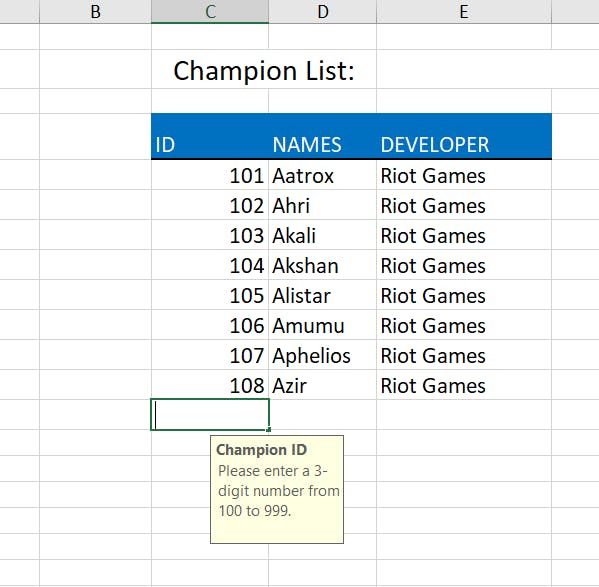
As an example, the validation criteria in the image below limit users to input a whole number between 100-999.
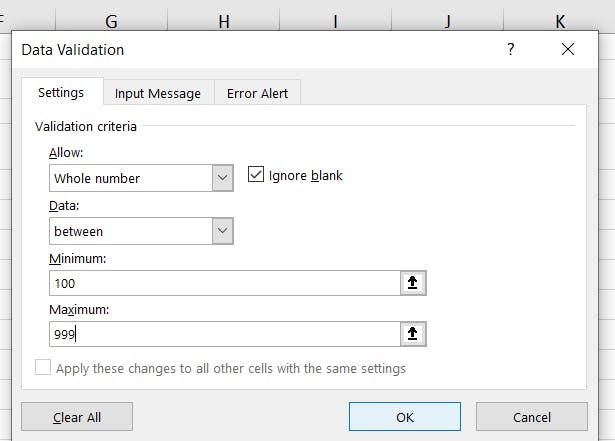
Add an input message (optional but recommended)
Add an error alert message (optional but recommended)
Click Ok
After following these steps, anyone who tries to input an ID into the champion list image displayed in Step 1 will see a light yellow box when they click into the cell informing them of the type of data they can enter into the cell.
Conclusion
Excel's data validation feature is an essential tool for ensuring data consistency and quality in spreadsheets. Setting restrictions on a cell or a range of cells enables you to prevent inaccuracies that occur from unrestricted data entry. The data validation's three tabs (Settings, Input Message and Error Alert) are all you need to customize validation rules and communicate them clearly to others.
All in all, data validation is useful whether you're working with survey results, or customer information as it will help make the data reliable.